Tesla camera recalibration is a crucial process to maintain accurate traffic sign recognition, vital for safe driving and advanced driver-assistance systems (ADAS). Over time, lens misalignments due to vibrations or repairs can impact software algorithms, requiring regular recalibration. By following simple steps, drivers can ensure improved ADAS performance, enhancing safety on varied terrains and weather conditions.
Tesla vehicles are renowned for their advanced driver-assistance systems, but achieving accurate traffic sign recognition can be challenging. This is due to issues like camera distortion and changing environmental conditions. Tesla camera recalibration offers a solution. By recalibrating your vehicle’s cameras, you enhance sign detection accuracy, improving safety and driving efficiency. This article explores the intricacies of Tesla’s camera system, the benefits of recalibration, and provides a step-by-step guide to help owners optimize their vehicles’ sign recognition capabilities through effective camera recalibration.
- Understanding Tesla's Camera System and Its Challenges
- The Role of Camera Recalibration in Sign Recognition
- Step-by-Step Guide to Efficient Tesla Camera Recalibration
Understanding Tesla's Camera System and Its Challenges
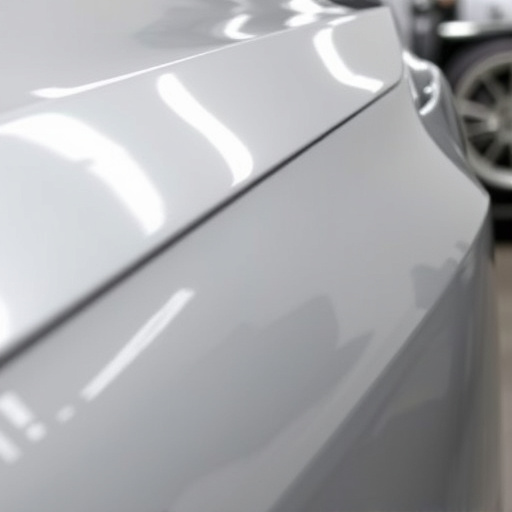
Tesla’s advanced driver-assistance systems (ADAS) heavily rely on its sophisticated camera system for tasks like traffic sign recognition. This system, integrated into their vehicles, employs a network of cameras strategically placed to capture high-resolution images from various angles. However, maintaining accurate and reliable performance over time poses challenges unique to electric vehicle (EV) manufacturing and usage.
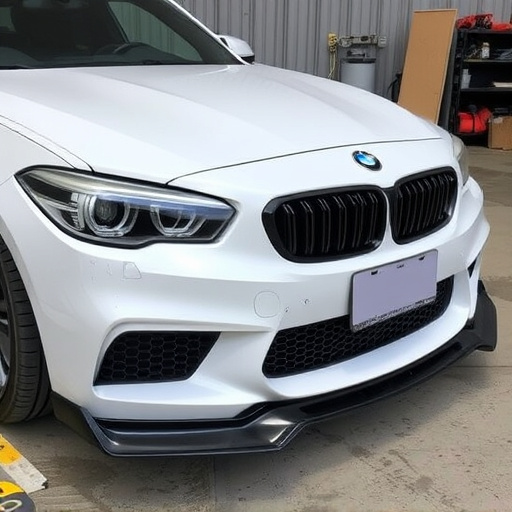
One significant hurdle is the potential for slight misalignments in the camera lenses or sensors due to vibrations during driving or sudden impacts. These discrepancies can lead to distorted or blurred images, impacting sign recognition accuracy. To address this, Tesla offers a powerful solution: Tesla camera recalibration. This process involves realigning and calibrating the cameras to ensure they capture precise, unaltered views of the road ahead, ultimately enhancing safety features like adaptive cruise control and automatic emergency braking by providing more accurate data on traffic signs and signals. Effective auto painting and car body restoration techniques play a supporting role in maintaining the structural integrity of the vehicle’s camera system, further contributing to optimal performance.
The Role of Camera Recalibration in Sign Recognition
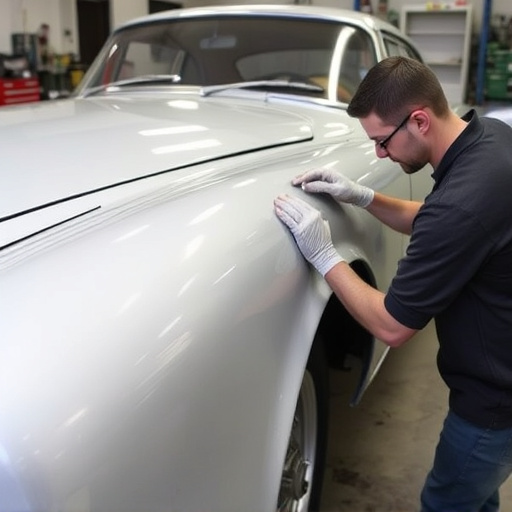
Camera recalibration plays a pivotal role in enhancing Tesla vehicle’s traffic sign recognition capabilities. Over time, a car’s cameras can drift due to various factors like temperature changes, wear and tear, or impact from external events like fender benders or hail damage—which might require a trip to an auto body shop for repairs. This recalibration process ensures that the system is aligned accurately, allowing it to detect signs consistently and accurately throughout the vehicle’s life, even after potential auto repair near me incidents.
Proper Tesla camera recalibration aligns not just the lenses but also adjusts the software algorithms that interpret the visual data. This meticulous process is crucial for reliable autonomous driving features, including adaptive cruise control and traffic-aware systems. By maintaining optimal camera performance, drivers can benefit from safer navigation and smoother journeys, especially in regions with varying terrain or weather conditions that might affect visibility.
Step-by-Step Guide to Efficient Tesla Camera Recalibration
Recalibrating your Tesla’s camera system is a straightforward process that can significantly improve traffic sign recognition, enhancing both safety and the overall driving experience. Here’s a step-by-step guide to ensure efficient Tesla camera recalibration:
1. Preparation: Ensure your Tesla is parked in a safe, open area with good lighting conditions. Engage the parking brake and turn off all vehicles. This preparation ensures accuracy during the recalibration process.
2. Access the Calibration Menu: On your Tesla’s touchscreen, navigate to the ‘Settings’ menu, then select ‘Camera’ or ‘Advanced Driver Assistance Systems (ADAS)’. Look for an option labeled ‘Calibrate Camera’ or ‘Recalibrate’.
3. Initiate Recalibration: Follow the on-screen instructions to start the recalibration process. The car will display a series of prompts, asking you to align your view with specific traffic signs or markings.
4. Align and Verify: Carefully adjust your line of sight as guided by the on-screen prompts. Ensure the camera captures clear, well-lit images of the specified targets. This step is crucial for accurate recalibration.
5. Complete the Cycle: Continue through the sequence until all required calibration points are verified. The system will process the data and adjust the camera settings accordingly.
6. Test Drive: After successful recalibration, take a short test drive to confirm improved traffic sign recognition. This step ensures that your Tesla’s vision is now more accurate, enhancing safety on the road.
Remember, regular camera recalibration is an essential part of maintaining your Tesla’s advanced driver-assistance systems and can prevent potential auto collision center visits due to faulty sensor readings.
Tesla camera recalibration is a game-changer for enhancing traffic sign recognition, ensuring safer and more efficient driving. By understanding the challenges of Tesla’s camera system and implementing a structured recalibration process, owners can significantly improve their vehicle’s performance in detecting and interpreting road signs. This article has provided a comprehensive guide to help navigate this process effectively, allowing drivers to focus on the road while relying on accurate sign recognition technology.