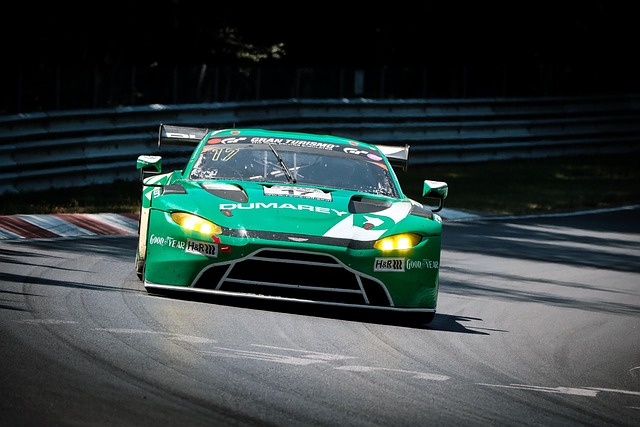


Tesla's Traffic Sign Recognition System enhances driver safety with high-resolution cameras and machine learning, but requires regular "Tesla camera recalibration" due to factors like weather and body repairs that can affect performance. Proactive calibration ensures accurate sign detection, peak ADAS function, and enhanced road safety, crucial after collision repair or auto body restoration work. To recalibrate, park in a safe, well-lit area, access the "Camera Calibration" feature through settings, follow on-screen instructions, save settings, and test under varied conditions.
Tesla’s advanced traffic sign recognition system has revolutionized autonomous driving, but accurate performance relies on proper calibration. Over time, Tesla cameras can drift, leading to misidentified signs. This article explores the importance of Tesla camera recalibration for maintaining optimal sign recognition. We’ll delve into when and why recalibration is crucial and provide a comprehensive step-by-step guide to help owners ensure their vehicles’ safety and efficiency on the road.
- Understanding Tesla's Traffic Sign Recognition System
- When and Why Camera Recalibration is Necessary
- Step-by-Step Guide to Tesla Camera Recalibration
Understanding Tesla's Traffic Sign Recognition System
Tesla’s Traffic Sign Recognition System is a sophisticated feature designed to enhance driver safety by automatically detecting and interpreting traffic signs. This advanced technology utilizes Tesla’s high-resolution cameras, coupled with machine learning algorithms, to recognize various road signs, including speed limits, stop signs, yield signs, and more. By continuously monitoring the surroundings, the system provides real-time information to drivers, helping them adhere to traffic rules and maintain a safe driving experience.
The accuracy of this recognition largely depends on proper camera calibration. Tesla offers a feature known as “camera recalibration” that allows owners to ensure their vehicle’s cameras are precisely aligned. This process is crucial for maintaining optimal performance, especially in challenging conditions or after an auto collision. Regular recalibration not only enhances sign recognition but also improves overall vehicle perception, benefiting drivers and making the car paint repair process smoother in case of any mishaps at an automotive body shop.
When and Why Camera Recalibration is Necessary

Over time, a Tesla’s camera system, like any other visual sensor, can experience degradation and drift in its calibration. This is particularly noticeable when it comes to accurately recognizing traffic signs – a critical safety feature for autonomous driving. Camera recalibration becomes necessary when the vehicle’s computer struggles to interpret what the cameras are seeing. Factors such as changes in lighting conditions, weather patterns, or even small adjustments to the car’s body during repairs can impact the camera’s calibration. Regular Tesla camera recalibration ensures that the system remains accurate and reliable, enabling better traffic sign detection and ultimately enhancing the overall safety of the vehicle.
When taking your Tesla for vehicle repair services or bodywork maintenance, it’s a good practice to have the camera recalibration checked as part of the service routine. This proactive approach can prevent any potential issues with traffic sign recognition, ensuring a smoother and safer driving experience.
Step-by-Step Guide to Tesla Camera Recalibration
Tesla camera recalibration is a process that ensures your vehicle’s advanced driver-assistance systems (ADAS) function optimally, enhancing safety on the road. Here’s a step-by-step guide to help Tesla owners navigate this procedure:
1. Preparation: Park your Tesla in a safe, open area with good lighting conditions. Ensure the car is in park and all occupants are wearing seatbelts. This ensures safety during the process.
2. Access the Calibration Feature: Navigate through your Tesla’s settings to find the “Camera Calibration” or “ADAS Calibration” option. The exact steps may vary based on your vehicle model and software version, but it’s typically accessible from the main menu.
3. Initiate Recalibration: Follow the on-screen instructions to start the recalibration process. This will involve using your steering wheel to guide a virtual target displayed on your touchscreen. The car’s cameras will capture images as you move the target through various points, calibrating their angles and perspectives accordingly.
4. Complete the Process: Once the calibration is complete, save the settings and allow the system to reboot if required. After recalibration, test your vehicle in different conditions, such as varying weather and lighting, to ensure accurate traffic sign recognition. Regularly calibrating your Tesla’s cameras, especially after any collision repair shop or auto body restoration work, is essential for maintaining the integrity of its safety features.
Tesla’s advanced traffic sign recognition system relies on precise camera calibration for safe and efficient driving. Over time, factors like changes in weather, road conditions, or vehicle positioning can impact the accuracy of this technology. Therefore, understanding and performing Tesla camera recalibration is crucial to ensure optimal performance. By following a simple step-by-step guide, owners can effectively recalibrate their vehicles’ cameras, enhancing traffic sign recognition and contributing to a safer driving experience.