
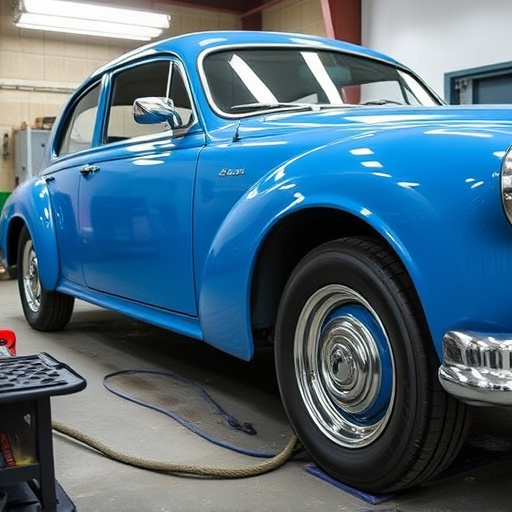
Regular Tesla camera recalibration ensures safe and efficient autonomous driving by compensating for weather, debris, and damage that can affect camera accuracy. This process re-trains cameras to provide precise sensor data for features like Autopilot and collision avoidance, crucial for optimal performance and safety in various traffic scenarios.
Unravel the essential process of Tesla camera recalibration and its benefits in this comprehensive guide. Learn why realigning your vehicle’s cameras is crucial for optimal autonomous driving and enhanced safety. Discover the step-by-step process, from gathering tools to reconfiguring settings, ensuring your Tesla’s vision system operates at peak performance. Mastering Tesla camera recalibration allows you to navigate unfamiliar terrains with confidence, showcasing the fusion of technology and safety in modern vehicles.
- What is Tesla Camera Recalibration?
- Why Recalibrate Tesla's Cameras?
- Step-by-Step Guide to Recalibration Process
What is Tesla Camera Recalibration?
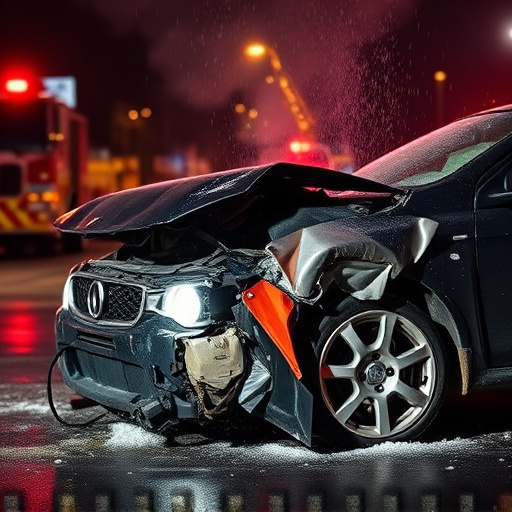
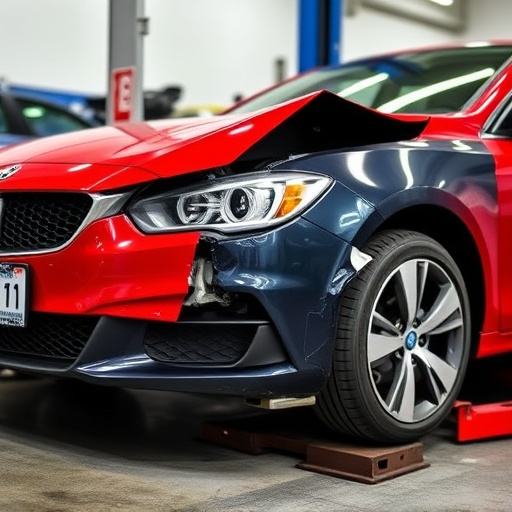
Tesla Camera Recalibration is a critical process that ensures the vehicle’s advanced driver-assistance systems (ADAS) remain accurate and reliable. It involves adjusting the camera sensors to optimize their performance, especially after potential disruptions or damage. Over time, these cameras can become less precise due to various factors, such as weather conditions, debris, or even minor car collisions. When a Tesla detects a need for recalibration, it triggers an automated process that calibrates each individual camera to ensure they work in harmony.
This procedure is essential for maintaining the safety features that enable autonomous driving capabilities and prevent accidents. Regular calibration checks are part of routine auto body services, ensuring any issues are identified early on. In the event of a car collision or significant damage, it’s crucial to have these sensors recalibrated to guarantee the safety and efficiency of Tesla’s advanced driver assistance systems.
Why Recalibrate Tesla's Cameras?
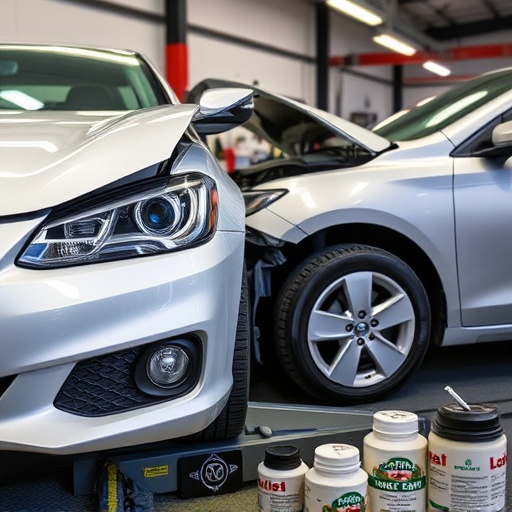
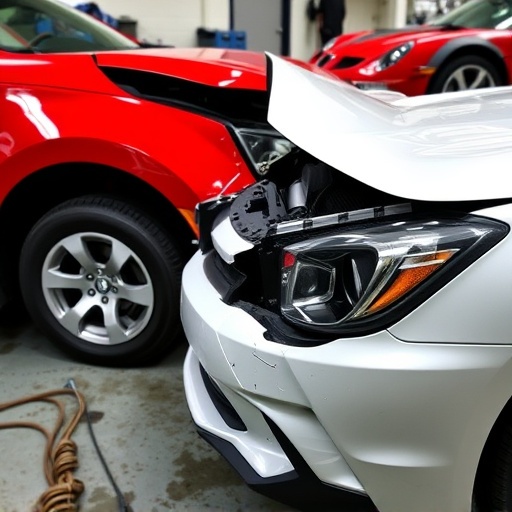
Recalibrating Tesla’s cameras is a crucial process that ensures optimal performance and safety for autonomous driving features. Over time, these advanced cameras can become less accurate due to various factors such as weather conditions, dust accumulation, or vehicle collision repair. A camera recalibration involves adjusting the camera’s settings and positioning to match the vehicle’s current state, effectively resetting its perception of the surroundings.
This process is particularly important for maintaining the reliability of Tesla’s Autopilot system and other driver-assistance features that rely on accurate visual data. Regular recalibration helps prevent potential issues during everyday driving, ensuring the vehicle can accurately navigate roads, detect obstacles, and respond swiftly in various traffic scenarios. It’s a critical step to keep your Tesla performing at its best, especially when visiting new locations or after any incident that might impact the camera’s functionality, similar to how regular maintenance is essential for automotive collision repair.
Step-by-Step Guide to Recalibration Process
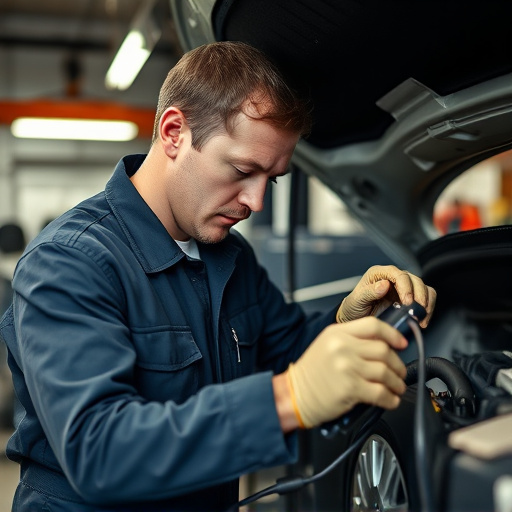
The Tesla camera recalibration process is a crucial step for maintaining optimal vehicle safety and performance. It involves re-training your car’s advanced driver-assistance systems (ADAS) cameras to ensure accurate and reliable sensor data, which is essential for features like Autopilot and collision avoidance. Here’s a simple, step-by-step guide:
1. Preparation: Park your Tesla on a flat, open area away from traffic. Ensure the car is turned off and all windows are closed. This initial setup facilitates a clear view for the recalibration process.
2. Access the Calibration Menu: Use your touchscreen to access the vehicle settings and navigate to the “Camera Recalibration” option. The exact steps may vary slightly based on your Tesla model and software version, but it’s typically straightforward and guided by on-screen instructions.
3. Initiate Recalibration: Follow the prompts on the screen to initiate the recalibration process. This involves capturing a series of images from different angles using the car’s forward and rear cameras. The vehicle will guide you through this step, instructing when to capture each image.
4. Complete the Process: Once all required images are captured, the system will process the data and perform internal calculations to recalibrate the cameras. This can take a few minutes, during which your vehicle’s display may show various progress indicators.
5. Confirm Recalibration: After completion, the system will notify you that recalibration is done. At this point, you can drive your Tesla normally, knowing your ADAS features are operating with calibrated and accurate camera data—a significant step in ensuring both vehicle safety and efficient tire services during maintenance or collision damage repair should it be required.
Tesla camera recalibration is a crucial process for maintaining optimal vehicle safety and performance. By understanding why recalibration is essential and following a simple step-by-step guide, owners can ensure their car’s cameras provide accurate, consistent data. This DIY approach not only saves costs but also allows for quick adjustments to keep up with changing environmental conditions, ultimately enhancing the overall driving experience.