

Tesla camera recalibration is a periodic process, akin to fine-tuning a car's digital "eye," crucial for maintaining peak precision in Autopilot and Advanced Driver Assistance Systems (ADAS). Over time, dust, dirt, and bodywork imperfections can distort camera views, compromising safety features. Regular recalibration ensures accurate distance perception, object recognition, and surround mapping, enhancing safety and driving experience. The simple process involves using a laptop, following on-screen instructions in the vehicle's manual, parking in a well-lit area, capturing images from various angles, and allowing Tesla to adjust camera settings accordingly. Regular body repairs are also vital for optimal component calibration.
Understanding the basics of Tesla camera recalibration is essential for maximizing the safety and performance of your electric vehicle. This process adjusts the cameras’ calibration, ensuring optimal visibility for features like Autopilot and 360-degree views. Recalibration becomes necessary due to environmental changes, such as weather conditions or component shifts over time. By following a step-by-step guide, you can ensure accurate realignment, enhancing your Tesla’s advanced driver-assistance systems (ADAS) functionality.
- What is Tesla Camera Recalibration?
- Why is Recalibration Necessary?
- Step-by-Step Guide to Performing Tesla Camera Recalibration
What is Tesla Camera Recalibration?
Tesla Camera Recalibration is a process that adjusts and optimizes the vehicle’s camera systems for improved performance and precision. It’s an essential maintenance step, akin to fine-tuning the eye of a digital camera. Over time, these cameras, which power features like Autopilot and advanced driver assistance systems (ADAS), can drift in their calibration, leading to inaccuracies.
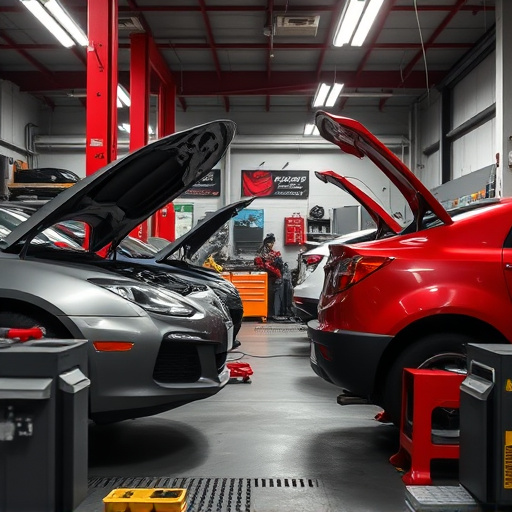
Just as a professional photographer calibrates their lens for crisp images, Tesla owners need to recalibrate their car’s cameras periodically. This involves complex algorithms that ensure the cameras accurately perceive distances, recognize objects, and map surroundings—crucial elements for safe autonomous driving. Regular auto body repair and maintenance routines should include checks and recalibration of these systems, ensuring your Tesla’s safety features function at peak performance, much like a well-restored car body that ensures smooth, reliable travel.
Why is Recalibration Necessary?
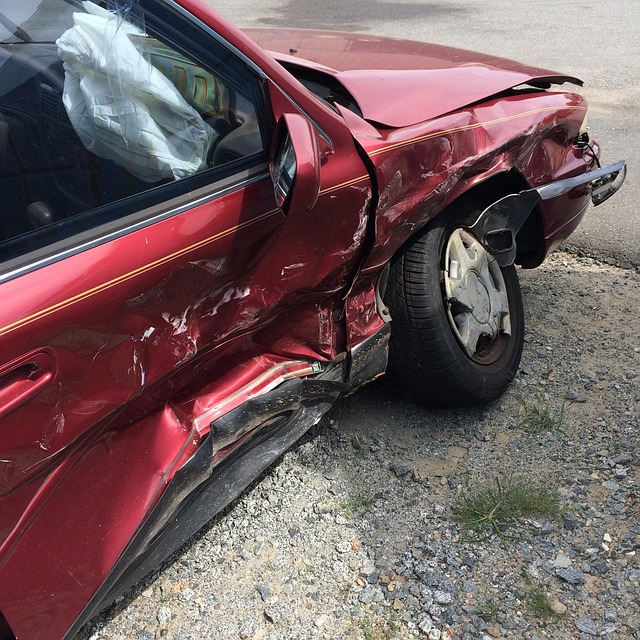
The Tesla camera recalibration process is an essential maintenance routine that ensures your vehicle’s advanced driver-assistance systems (ADAS) function optimally and safely. Over time, the cameras in your Tesla can gather dust, dirt, or debris, leading to inaccurate readings and potential safety hazards. Even minor imperfections like a car scratch repair or a small dent in the vehicle bodywork can distort the camera’s view, affecting its ability to detect road signs, lane markings, and surrounding obstacles accurately.
Regular recalibration is crucial to maintaining the integrity of your Tesla’s software, especially as it interacts with features like Autopilot and traffic-aware cruise control. By calibrating the cameras, Tesla ensures that the data captured aligns precisely with the vehicle’s position and orientation, enabling accurate perception of the surroundings for enhanced safety and a smoother driving experience.
Step-by-Step Guide to Performing Tesla Camera Recalibration

Performing Tesla camera recalibration is a straightforward process that ensures your vehicle’s advanced driver-assistance systems (ADAS) function optimally. Here’s a step-by-step guide to help you through it. First, gather all necessary tools, including your Tesla Model 3 or Y user manual and a laptop with internet access. Open the vehicle’s center display and navigate to the “Settings” menu. From there, select “Advanced Features” and then choose “Camera Calibration.” The system will guide you through a series of on-screen instructions.
Next, park your Tesla in a well-lit area, ideally outdoors, with clear visibility. Ensure the camera is not blocked by any objects or obstructions. The process involves capturing a series of images from different angles to map out the camera’s field of view and calibration points. Follow the prompts on the display, capturing each image in sequence. Once complete, your Tesla will process these images and adjust the camera settings accordingly. Remember that proper auto collision repair and regular auto body work contribute to maintaining optimal vehicle performance, including ADAS functionality, by ensuring every component is precisely calibrated for safety and efficiency.
Tesla camera recalibration is a vital process that ensures the optimal performance of your vehicle’s advanced driver-assistance systems (ADAS). By understanding and regularly performing this recalibration, you can enhance safety features like Autopilot and keep your Tesla’s cameras accurate and reliable. Following the step-by-step guide provided, drivers can easily maintain their vehicles’ camera systems, contributing to a safer and more efficient driving experience.