
Tesla camera recalibration is vital after suspension modifications to maintain ADAS accuracy and safety. This process ensures optimal performance of features like Autopilot and Collision Avoidance by correcting distortions in camera data caused by geometric changes. A systematic approach includes preparation, execution with specific driving patterns on a track, double-checking work, lowering the vehicle, resetting the system, and safe driving afterwards.
Tesla owners pushing their vehicles’ performance limits with suspension modifications may need to consider a crucial step: Tesla camera recalibration. While Tesla’s advanced driver-assistance systems (ADAS) rely on precise camera calibration for safety features, after significant suspension changes, the system may no longer accurately interpret visual data. This article guides you through understanding Tesla camera calibration basics and provides step-by-step instructions for effectively recalibrating your vehicle’s cameras post-suspension modifications.
- Understanding Tesla Camera Calibration Basics
- When Suspension Modifications Trigger Recalibration
- Steps for Effectively Recalibrating Your Tesla's Camera
Understanding Tesla Camera Calibration Basics

Tesla vehicles are equipped with advanced driver assistance systems (ADAS) that rely heavily on camera data for safety features like Autopilot and lane keeping. At the heart of this system is Tesla’s sophisticated camera calibration process, which ensures accurate and reliable imaging. Camera recalibration involves adjusting these sensors to account for any changes in their positioning or performance over time. This becomes especially crucial after suspension modifications, as alterations to the car’s setup can impact the cameras’ field of view and image quality.
Proper understanding of Tesla camera recalibration basics is essential for owners who have made suspension upgrades, such as lowering springs or air suspensions. Similar to how tire services or dent repair might require adjustments to maintain optimal performance, camera recalibration ensures that the vehicle’s ADAS functions correctly and safely. By addressing any discrepancies in camera calibration, Tesla owners can ensure their vehicles remain reliable and efficient, enhancing overall driving experience.
When Suspension Modifications Trigger Recalibration

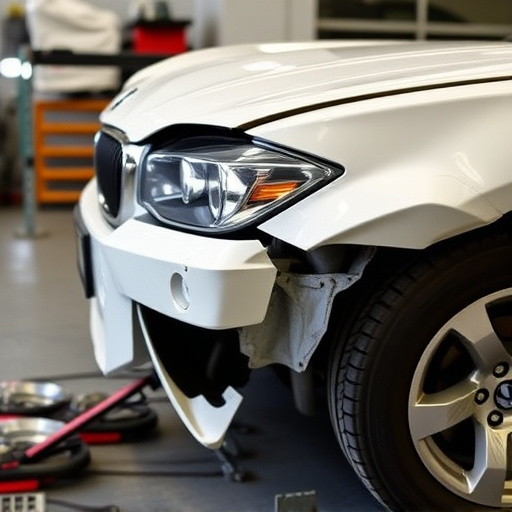
When suspension modifications are made to a Tesla vehicle, it’s crucial to understand that these changes can significantly impact the car’s overall geometry and alignment. Alterations in the suspension system, whether it’s an upgrade for better handling or a repair after an accident, require Tesla camera recalibration to ensure optimal performance and safety. The vehicle’s advanced driver-assistance systems (ADAS) rely on accurate camera data to function correctly.
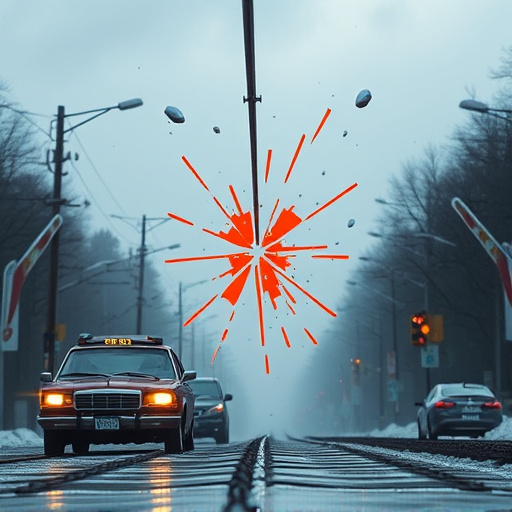
Any modification that affects the vehicle’s height, ride height, or wheel alignment can cause distortions in the images captured by the cameras, leading to false readings for features like Autopilot and Collision Avoidance. An automotive collision repair expert or a specialized Tesla service center will perform the necessary Tesla camera recalibration after such modifications to restore the system’s effectiveness and prevent potential hazards on the road.
Steps for Effectively Recalibrating Your Tesla's Camera

Recalibrating your Tesla’s camera system is a crucial step after making suspension modifications to ensure optimal performance and safety features. Here’s a straightforward guide for an effective Tesla camera recalibration:
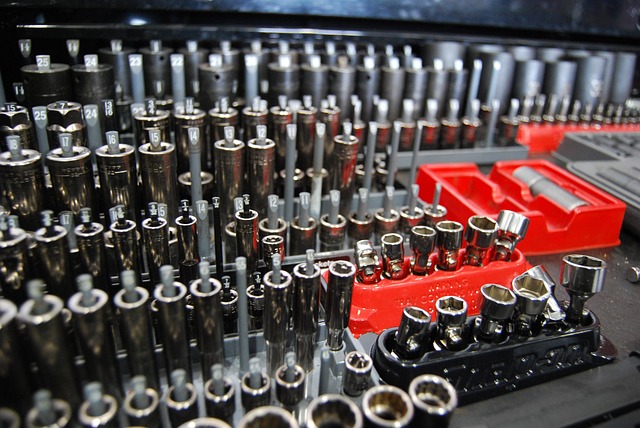
1. Preparation: Park your Tesla on a level surface, engage park assist, and raise the vehicle off the ground using jack stands placed at the recommended locations. Ensure all lights are turned off to avoid any interference during the process. Gather the necessary tools, including your vehicle’s user manual and a laptop with the latest Tesla software updates.
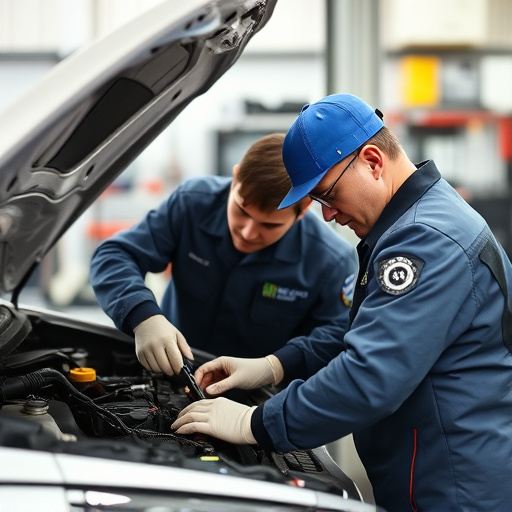
2. Execute Recalibration: Follow the step-by-step instructions in your owner’s manual or use the Tesla mobile app. The process typically involves activating the camera recalibration mode via the center display, then driving through specific patterns on a dedicated recalibration track. During this time, the cameras capture and analyze various scenes to adjust their settings accurately. After completion, lower the vehicle, turn on the ignition, and allow the system to reset before proceeding on the road. Keep in mind that proper execution is key; if you’ve ever undertaken a classic car restoration or hail damage repair, double-check your work to avoid any hiccups during this critical process.
After making suspension modifications to your Tesla, it’s crucial to understand that these changes can impact the vehicle’s camera recalibration. By following the outlined steps for effective Tesla camera recalibration, you ensure optimal performance of advanced driver-assistance systems (ADAS). Regularly checking and calibrating your Tesla’s cameras is essential for safe driving and maintaining the integrity of its autonomous capabilities. Remember, a well-calibrated camera system can make all the difference on the road.