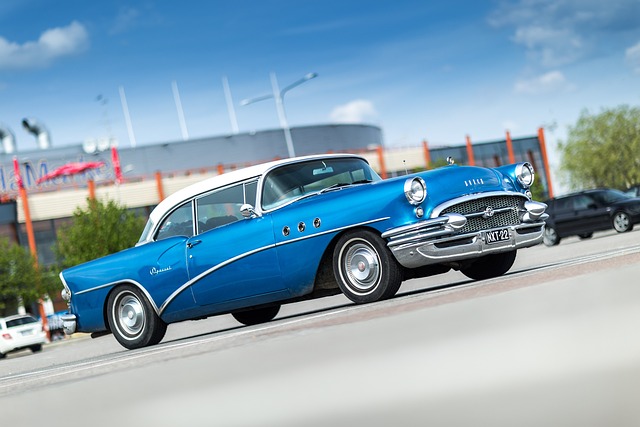

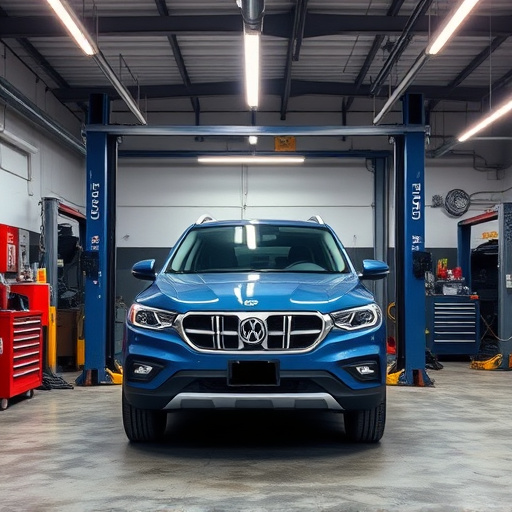
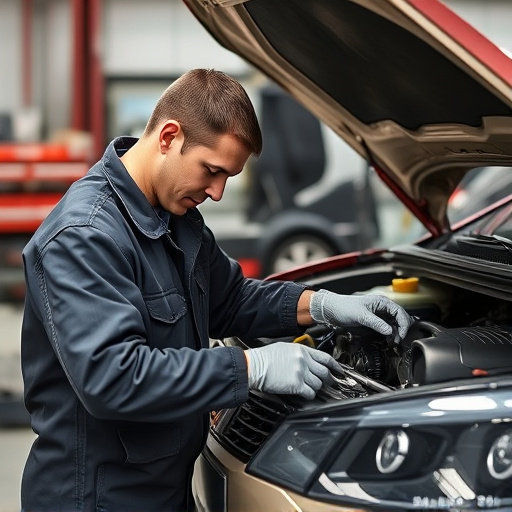
After Tesla suspension modifications, camera recalibration is vital for ADAS safety and functionality. Park on a level surface, use official Tesla tools or interfaces, follow prompts, verify camera visibility, test ADAS features post-recalibration, and consider professional help if issues arise. Regular calibration ensures optimal Autopilot, lane keeping, and safety system performance.
Tesla owners looking to enhance their vehicle’s performance with suspension modifications need to understand one crucial step: Tesla camera recalibration. This process ensures the car’s Autopilot and safety features function optimally after structural changes. Learn why and when recalibration is essential, and follow our comprehensive guide to successfully realign your Tesla’s cameras, maintaining both enhanced driving capabilities and safety standards.
- Understanding Tesla Camera Calibration Basics
- When Suspension Modifications Trigger Recalibration
- Step-by-Step Guide for Effective Camera Recalibration
Understanding Tesla Camera Calibration Basics
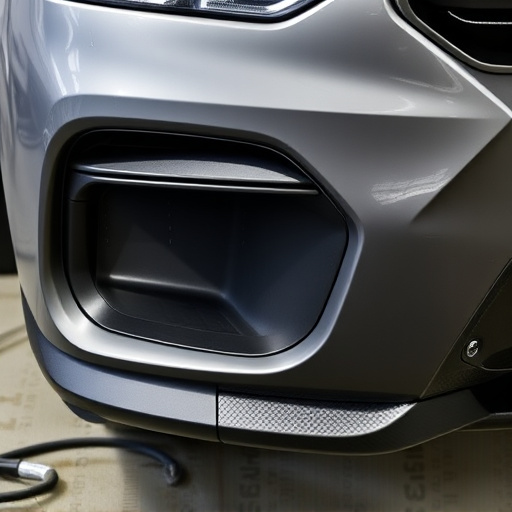
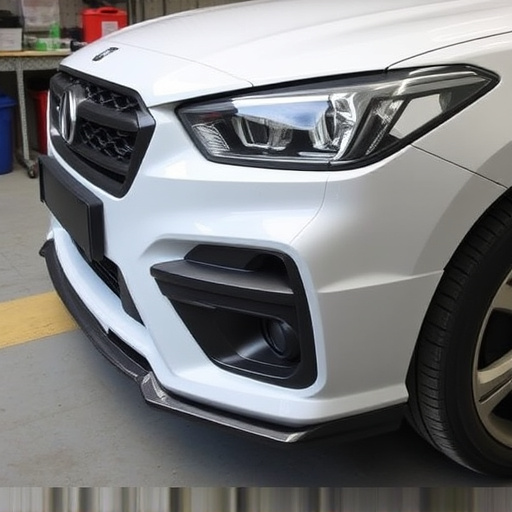
Tesla’s advanced driver assistance systems (ADAS) rely heavily on a precise camera calibration for optimal performance. The process involves mapping the camera’s field of view and adjusting for factors like lens distortion, image sensor placement, and environmental conditions. This ensures that the data captured by the cameras accurately represents the real-world surroundings, enabling features like Autopilot and advanced safety systems to function correctly.
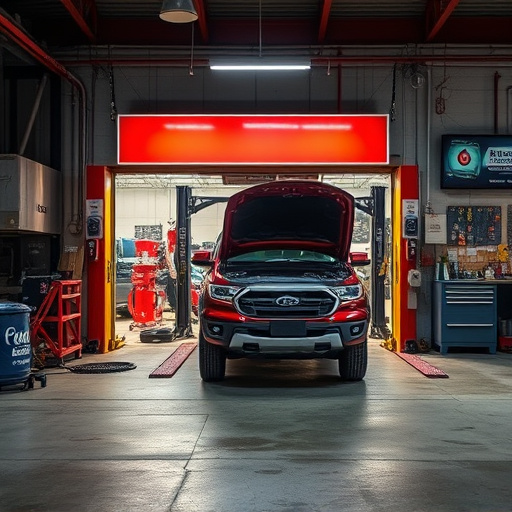
After making suspension modifications to a Tesla vehicle—which can alter the car’s height, weight distribution, or other parameters—the original camera calibration may no longer be accurate. Just as a change in a car’s physical dimensions requires retuning its sensors for optimal performance, Tesla camera recalibration is necessary to account for changes made during suspension modifications. Visiting a specialized auto repair services or collision center equipped with the right tools and expertise ensures precise and effective car dent removal, allowing your Tesla’s ADAS to operate at peak efficiency after modifications.
When Suspension Modifications Trigger Recalibration
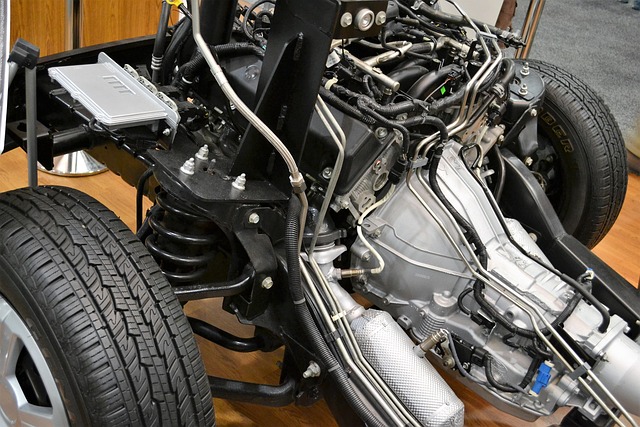
When suspension modifications are made to a Tesla vehicle, it can often necessitate a recalibration of the car’s camera system. This is because changes to the suspension significantly alter the vehicle’s geometry and orientation, impacting how the cameras perceive the surrounding environment. For instance, lowering springs or installing new air suspension components can cause shifts in wheel alignment that affect both driving dynamics and camera field of view.
Recalibration becomes crucial in these scenarios as it ensures the Tesla’s advanced driver-assistance systems (ADAS) function accurately and reliably. A correctly calibrated camera allows features like Autopilot, lane keeping assist, and automatic emergency braking to operate at peak performance. Without recalibration after suspension mods, drivers might experience reduced safety margins and decreased system effectiveness, similar to what one might encounter with a Mercedes Benz or other luxury vehicle requiring collision repair following structural changes.
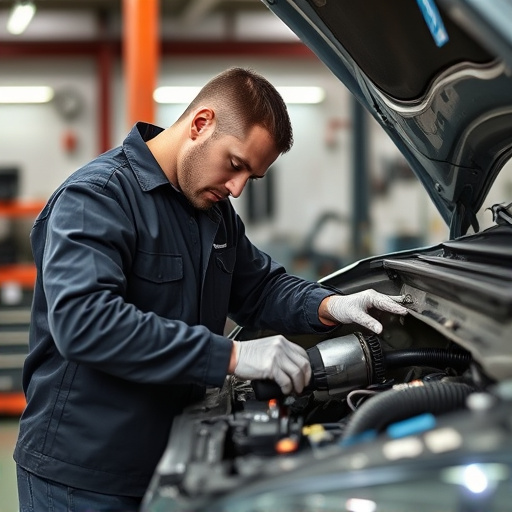
Step-by-Step Guide for Effective Camera Recalibration
Recalibrating your Tesla’s camera system is a crucial step after making suspension modifications to ensure optimal safety and performance. Here’s a straightforward guide for achieving accurate results:
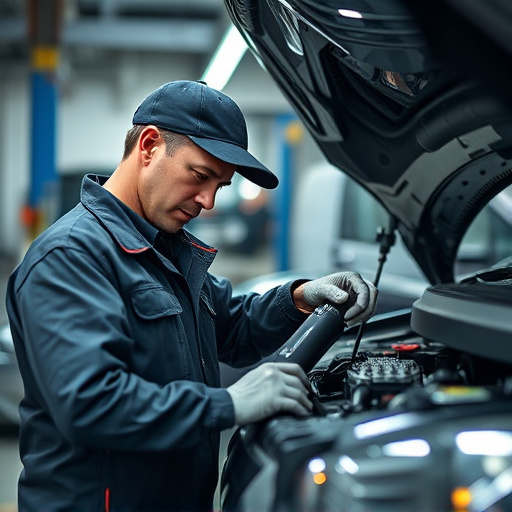
1. Preparation: Begin by ensuring your vehicle is on a level surface. Engage park assist and allow the cameras to warm up. Check that all suspension components are securely fastened, as any movement can impact calibration.
2. Access the Calibration Tool: Use Tesla’s official calibration app or interface, available through their infotainment system. This tool guides you through the process, providing clear instructions and visual cues.
3. Perform the Recalibration: Follow the on-screen prompts to initiate the recalibration sequence. The car will display a series of images for you to confirm correct positioning. Ensure each camera is clearly visible during this step. If any obstruction is detected, clear it and repeat the process.
4. Final Verification: Once complete, test your vehicle’s advanced driver-assistance systems (ADAS) features like Autopilot or lane keeping to ensure smooth operation and precise detection. Regularly calibrate after suspension adjustments for optimal results.
Remember, a correctly calibrated camera system is vital for the safety of you, your passengers, and other road users, especially when relying on ADAS features in your Tesla. Consider visiting a reputable collision center or body shop if you encounter issues during calibration, as professional services can offer specialized support for bumper repair and body shop services.
Tesla owners who modify their vehicle’s suspension system should be aware that these changes can impact the accuracy of the car’s cameras, necessitating a Tesla camera recalibration. By following the step-by-step guide provided in this article, you can effectively realign and recalibrate your Tesla’s cameras to ensure optimal performance for advanced driver-assistance systems (ADAS) and enhanced safety on the road. Regular maintenance, including timely recalibration, is key to keeping your Tesla’s camera system reliable and precise.